

Menu options
The contextual menu includes several pre-built options that you can enable by adding their identifier to your configuration.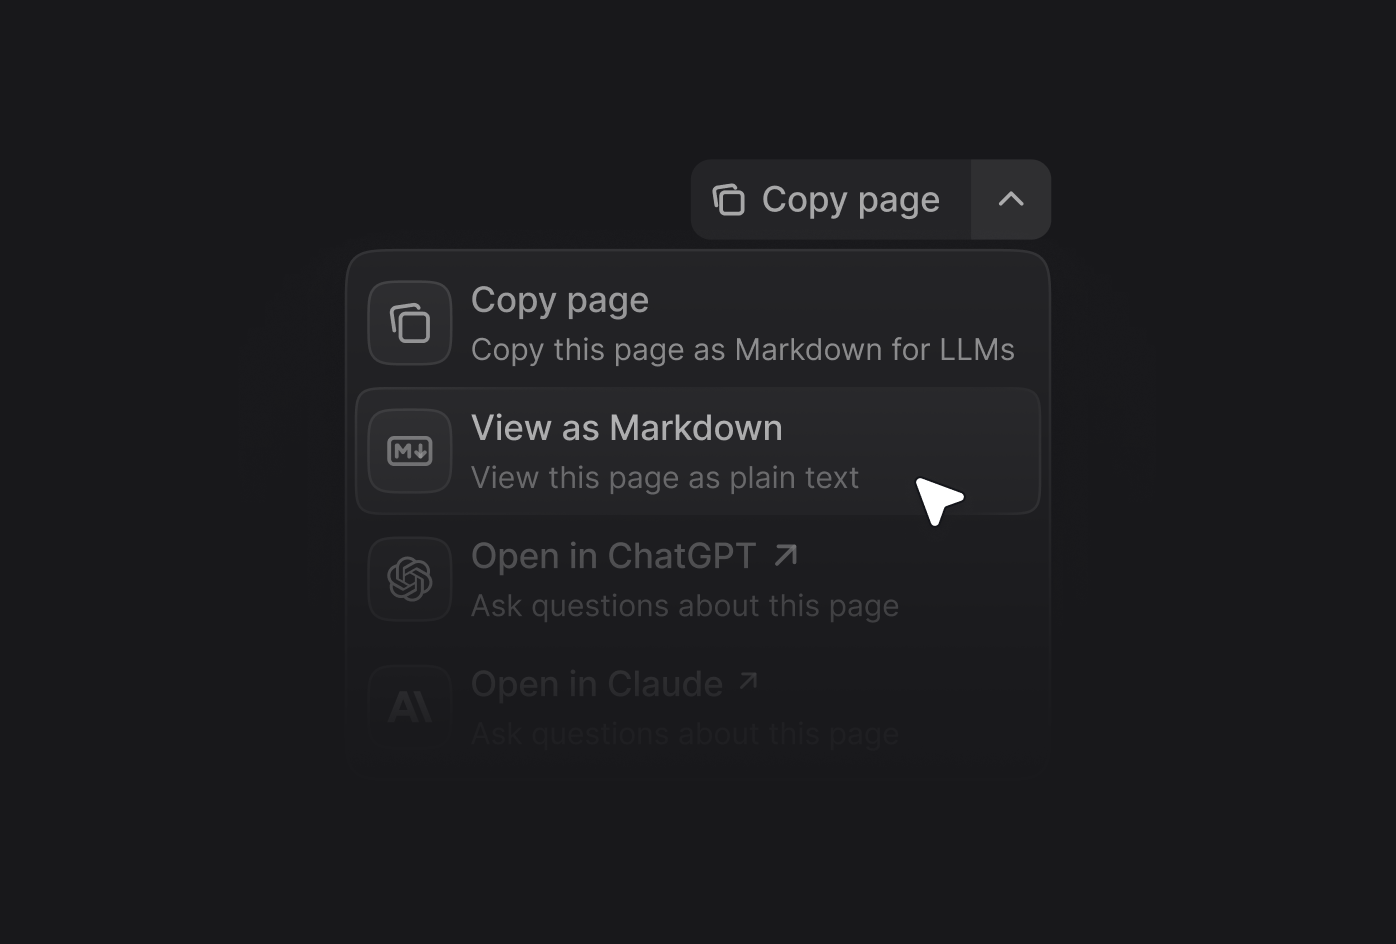
Enabling the contextual menu
Add thecontextual field to your docs.json file and specify which options you want to include.
Adding custom options
Create custom options in the contextual menu by adding an object to theoptions array. Each custom option requires these properties:
string
required
The title of the option.
string
required
The description of the option. Displayed beneath the title when the contextual menu is expanded.
string
required
The icon to display.Options:
- Font Awesome icon name
- Lucide icon name
- JSX-compatible SVG code wrapped in curly braces
- URL to an externally hosted icon
- Path to an icon file in your project
- Convert your SVG using the SVGR converter.
- Paste your SVG code into the SVG input field.
- Copy the complete
<svg>...</svg>element from the JSX output field. - Wrap the JSX-compatible SVG code in curly braces:
icon={<svg ...> ... </svg>}. - Adjust
heightandwidthas needed.
string
The Font Awesome icon style. Only used with Font Awesome icons.Options:
regular, solid, light, thin, sharp-solid, duotone, brands.string | object
required
The href of the option. Use a string for simple links or an object for dynamic links with query parameters.
Custom option examples
Simple link
Simple link
Dynamic link with page content
Dynamic link with page content