> ## Documentation Index
> Fetch the complete documentation index at: https://omer-914cc1c6.mintlify.site/llms.txt
> Use this file to discover all available pages before exploring further.

# 自定义域名

> 将文档托管在你的网站自定义域名下

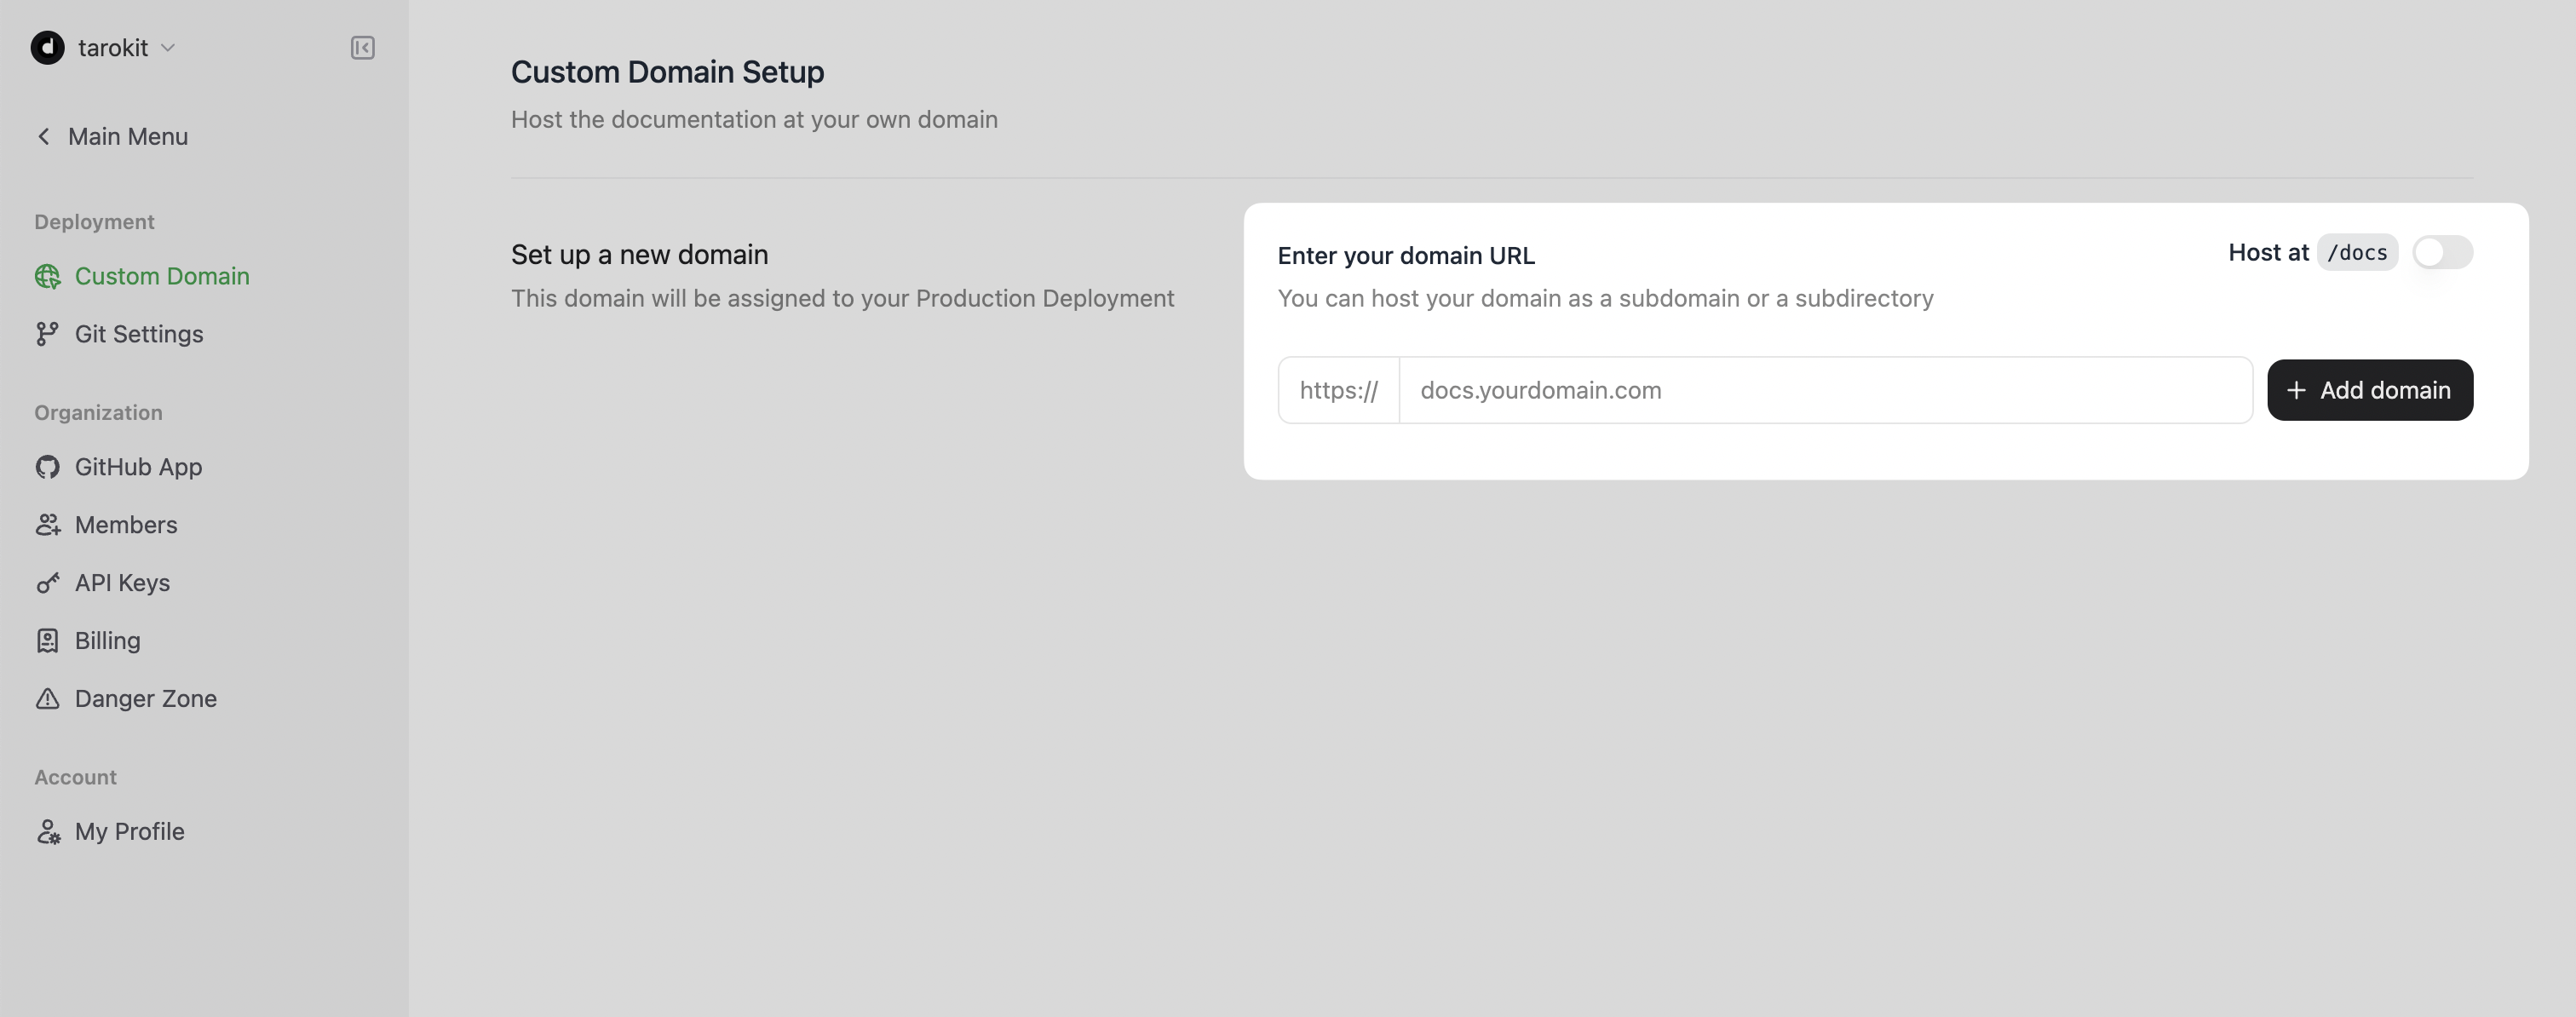
要在自定义域名下托管文档，你需要先在 Mintlify 设置中填写所需的自定义域名，并在你的域名服务商处配置 DNS（域名系统）记录。

<Info>
  想设置类似 `mintlify.com/docs` 的自定义子目录？请查看[自定义子目录](/zh/advanced/subpath/cloudflare)文档。
</Info>

<div id="dashboard-settings">
  ## 控制台设置
</div>

1. 前往你的[控制台](https://dashboard.mintlify.com)
2. 选择「设置」
3. 选择「域名设置」
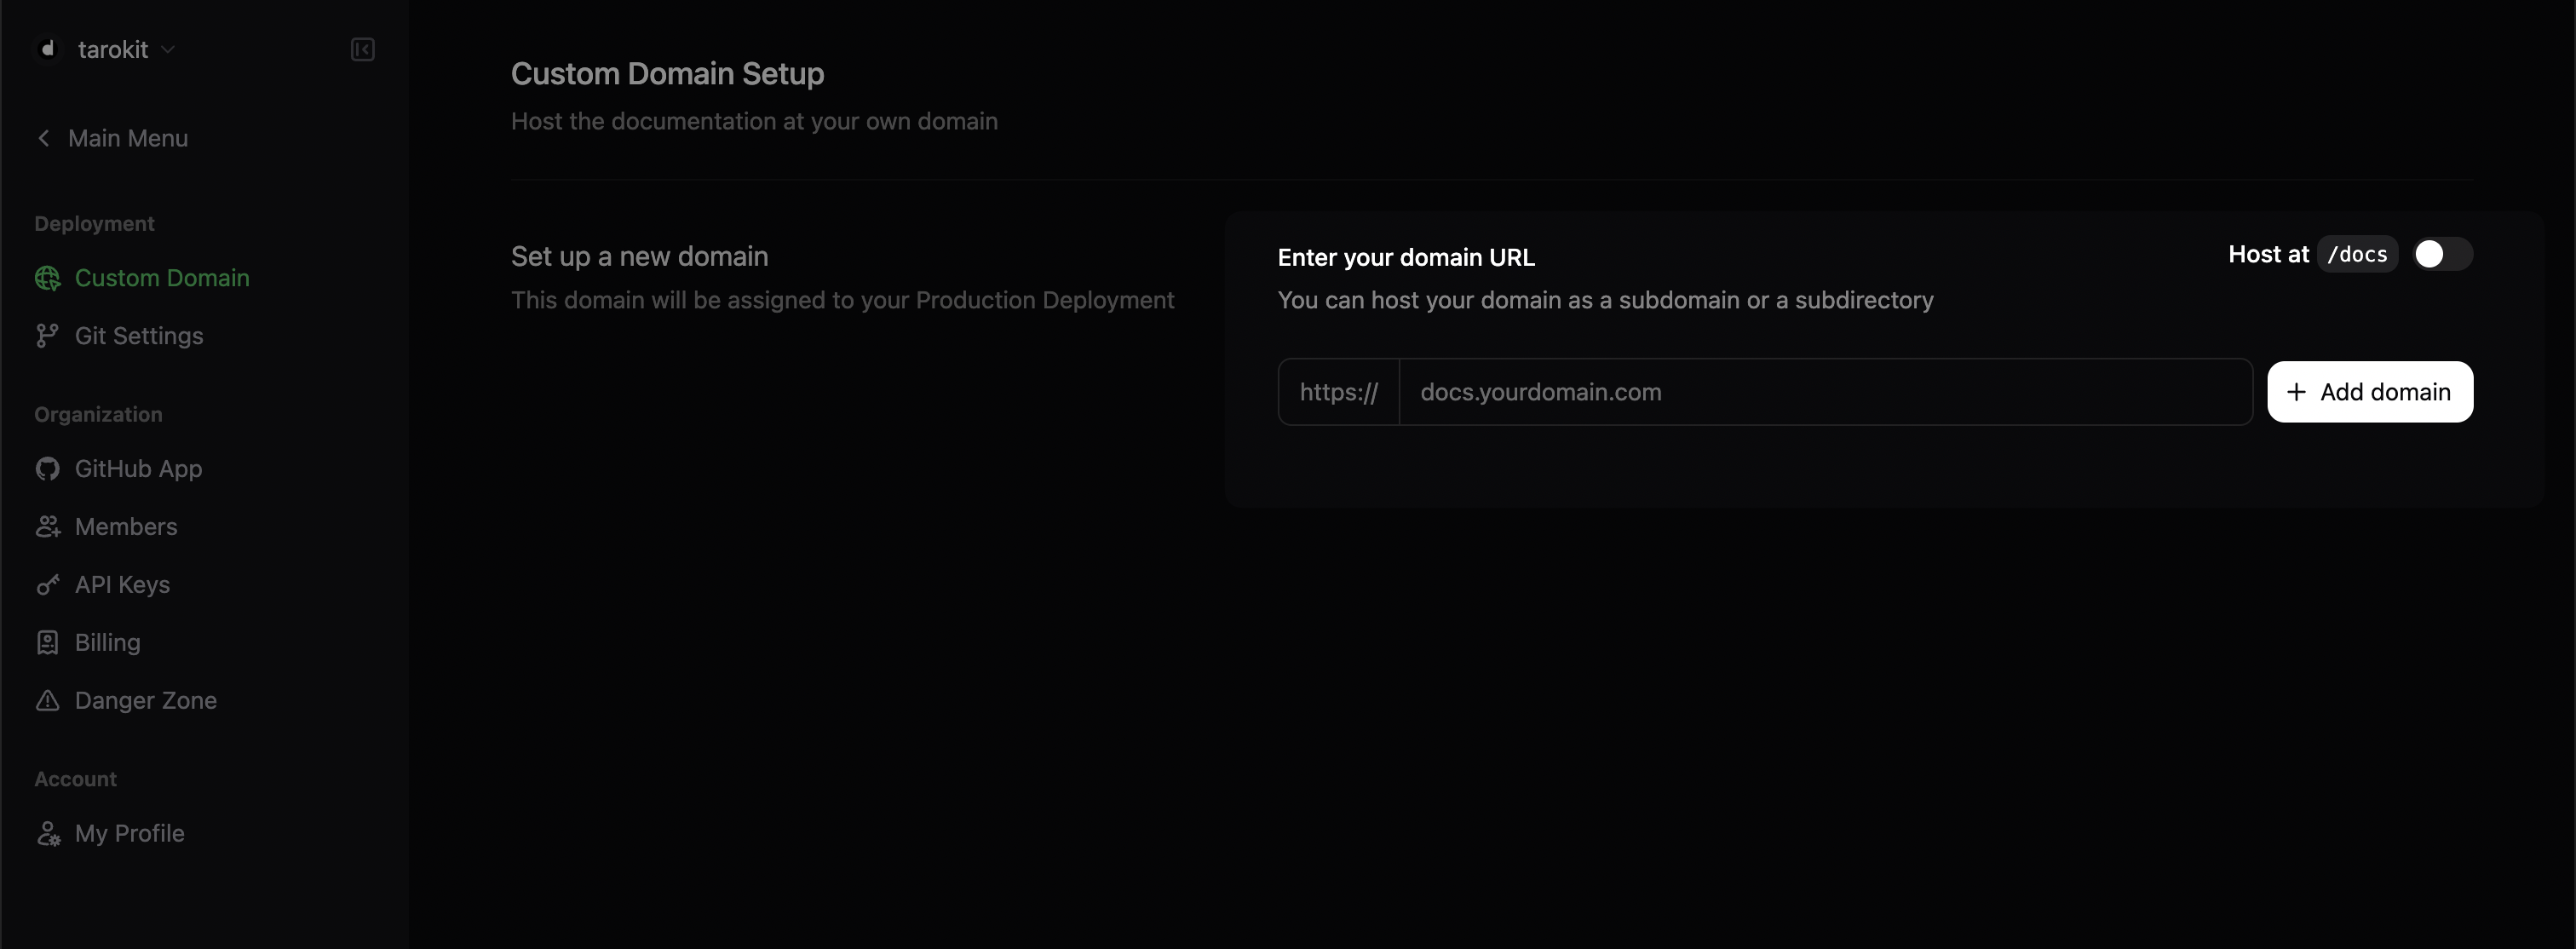
4. 输入你想使用的自定义域名，例如：`docs.mintlify.com`

<Frame>
  <img alt="自定义域名" className="block dark:hidden" src="https://mintcdn.com/omer-914cc1c6/R6mDx4eU2EptKC2P/images/add-custom-domain-light.png?fit=max&auto=format&n=R6mDx4eU2EptKC2P&q=85&s=0ba2b60b99eda3d281265df6daef987f" width="3024" height="1194" data-path="images/add-custom-domain-light.png" />

  <img alt="自定义域名" className="hidden dark:block" src="https://mintcdn.com/omer-914cc1c6/R6mDx4eU2EptKC2P/images/add-custom-domain-dark.png?fit=max&auto=format&n=R6mDx4eU2EptKC2P&q=85&s=95b4f88481efd7c287aae93f8d3b9e72" width="3024" height="1114" data-path="images/add-custom-domain-dark.png" />
</Frame>

<div id="configuring-your-dns">
  ## 配置你的 DNS
</div>

1. 在域名提供商的网站中，进入你的域名的 DNS 设置页面。
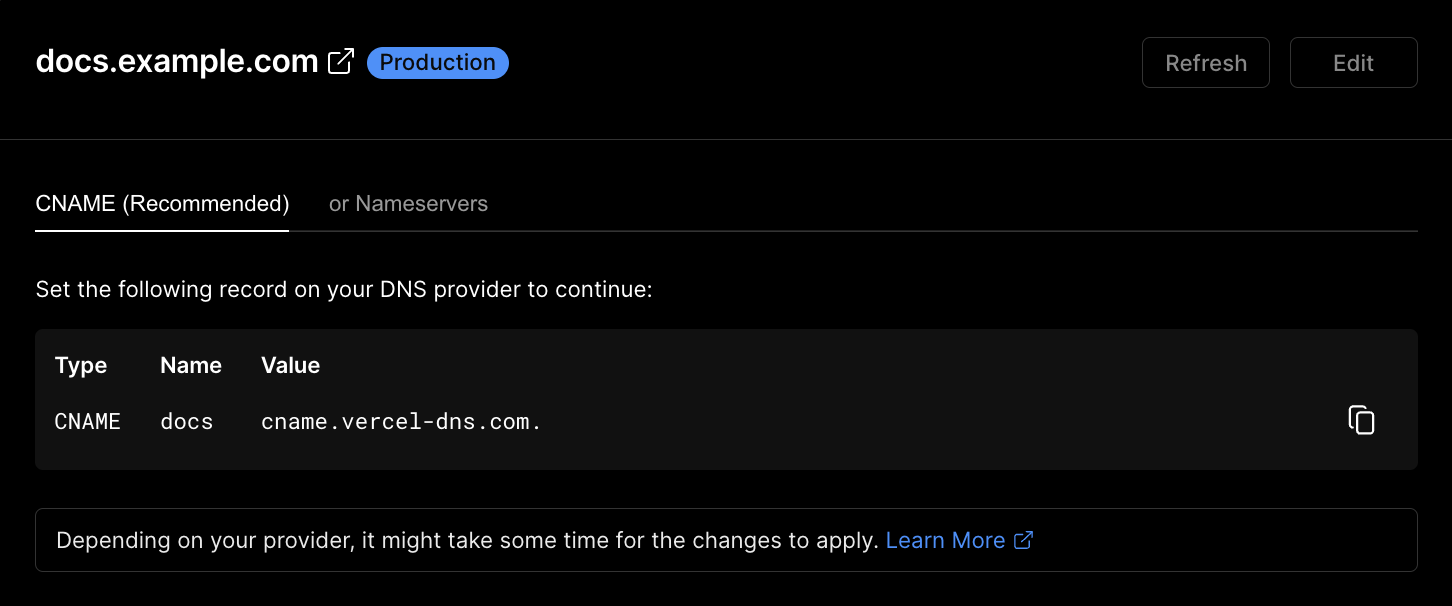
2. 新建一条 DNS 记录，并输入以下值：

```bash theme={null}
CNAME | docs | cname.vercel-dns.com.
```
<Frame>
  <img alt="DNS" src="https://mintlify-assets.b-cdn.net/mintlify-dns.png" />
</Frame>

<div id="provider-specific-settings">
  ## 面向特定提供商的设置
</div>

<AccordionGroup>
  <Accordion title="Vercel 验证">
    如果 Vercel 是你的域名提供商，你必须添加一个用于验证的 `TXT` 记录。提交自定义域名后，这些信息会显示在你的控制台中，并通过电子邮件发送给你。
  </Accordion>

  <Accordion title="Cloudflare 安全设置">
    如果 Cloudflare 是你的 DNS 提供商，你必须在 HTTPS 设置中启用“Full (strict)”安全选项。
  </Accordion>
</AccordionGroup>